How To Bypass xlsx Spreadsheet Protection
 The problem you’ve encountered is you have an
 .xlsx file that has password-protected data inside and you need to get at that information. I encountered this scenario while attacking the Search machine on Hack The Box and, as such, this post will contain spoilers for the retired machine.
In order to proceed, I needed to get at the data in a column that was password protected. The good news is that ever since Office 2007, all files (i.e. .docx, .pptx, .xlsx) are just a series of zipped up XML files and since XML == text, that means we can manipulate the contents.
My use-case involved not wanting to transfer files off my Kali VM to use Excel on my host machine, so this post covers the steps needed solely inside Kali Linux. The two sources for this article were this masterful post by ExcelSuperSite and this answer from StackOverflow (hat-tip to jmcnamara).
Step 0: Setup
As of my fresh 2022.4 Kali Linux install, there was no default spreadsheet viewer, so I had to install that first with:
$ sudo apt install libreoffice

From there, all you’ll need is the native copy of zip/unzip and the text editor of your preference, and if it’s not vi then get the hell off my lawn.
Step 1: Unzip the Spreadsheet
From the directory where the file is located, run the following to crack open the contents of the file, spreadsheet.xlsx, dumping the XML contents into a new directory called spreadsheet:
$ unzip spreadsheet.xlsx -d spreadsheet
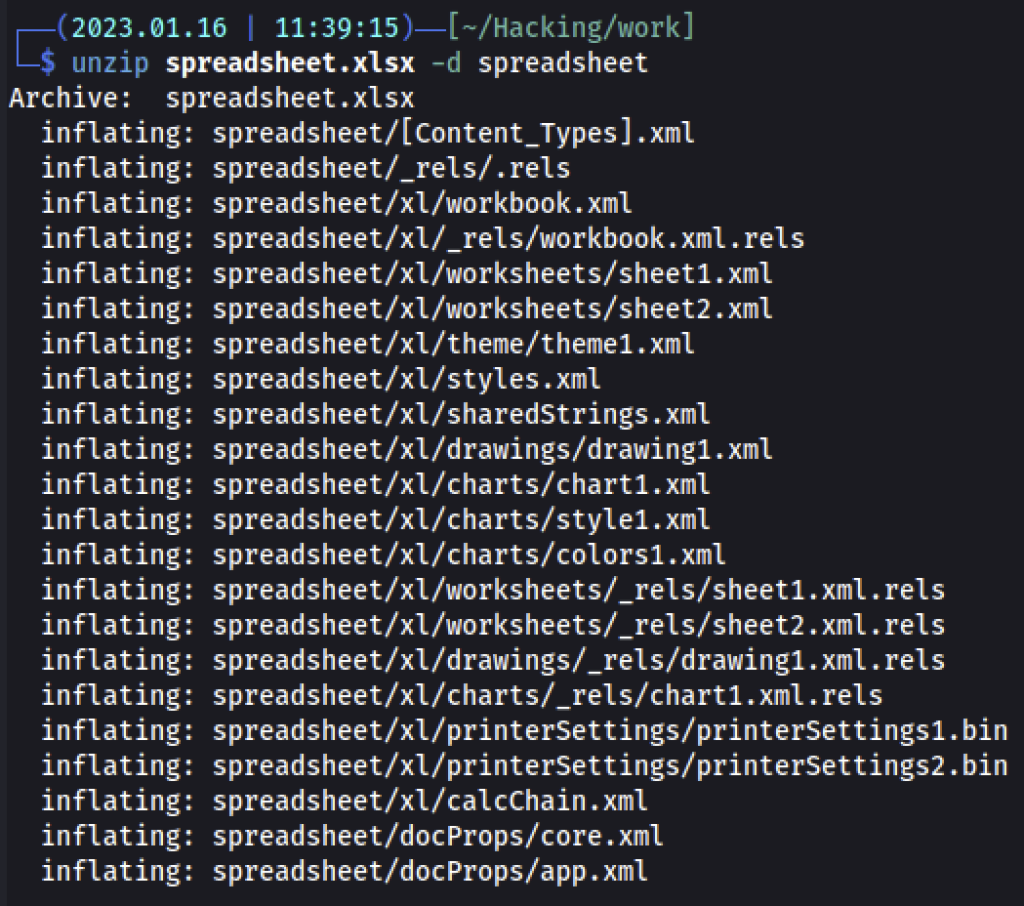
Spreadsheet data will be contained inside the xl/worksheets/ directory with each sheet having a separate .xml file. The file names may not match the name used inside the sheet, but this will not matter.

Step 2: Remove Protection
If this spreadsheet was a large or perhaps there are several sheets in the file with protection, a manual search will be too complex to find the file in which we are interested. In the case of the latter, you’ll also have have to perform these steps multiple times to remove protection throughout the spreadsheet.
To quickly find the files we are interested in modifying, just grep for sheetProtection:
$ grep -r "sheetProtection" ./spreadsheet/*

In my case, I was only interested in one sheet: ./spreadsheet/xl/worksheets/sheet2.xml. Open your file(s) containing sheetProtection with a text editor.

Search for the string sheetProtection again and delete the entire XML element from <sheetProtection... to ...scenarios="1"/>.

Save the file(s) and exit.
Step 3: Reassemble the File, Profit
Putting the file back together is a common point of fault that may prevent you from viewing the file contents, if you don’t do it correctly. The resulting spreadsheet will become corrupted and you won’t be able to recover it if you don’t maintain the correct folder structure within the zip/xlsx file. See Step 4 for an example of the matching error to this problem and steps to troubleshoot.
The following commands are meant to take the guesswork out of putting Humpty Dumpty back together. Navigate to the folder the original .xlsx file was unzipped into, in our case it was ./spreadsheet/, run the find command from there and feed the results to the piped xargs zip command. Make sure the new file (spreadsheet-bypassed.xlsx) is created one folder level up and outside the spreadsheet’s directory.
$ cd spreadsheet
$ ll
<see image below for what the folder contents should look like>
$ find . -type f | xargs zip ../spreadsheet-bypassed.xlsx
![Screenshot of the command line execution of the aforementioned commands. The results of the ll command show one file, named '[Content_Types].xml', and three directories, named docProps, _rels, and xl.](/assets/images//2023/01/image-17.png)
Once that is done, you can manually open the file with LibreOffice or run:
$ xdg-open spreadsheet-bypassed.xlsx
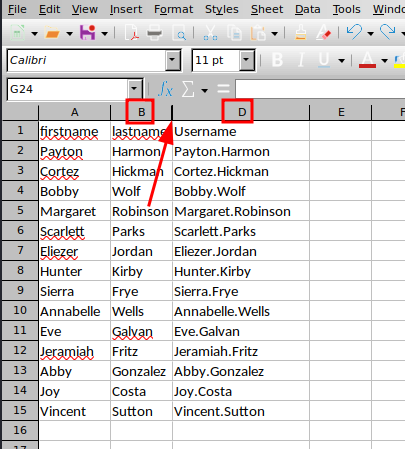
In the spreadsheet obtained during the course of hacking the Search machine, we knew there was a hidden column because we were missing column C.
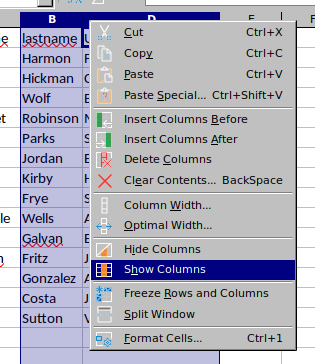
Highlight the two columns surrounding the protected column, right-click, and select ‘”Show Columns”
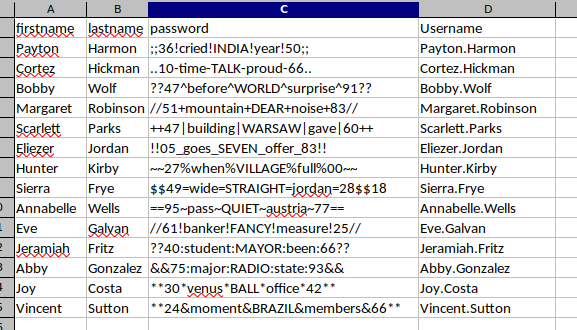
And et voilà! The passwords.
Step 4: (Situational) It’s not working!
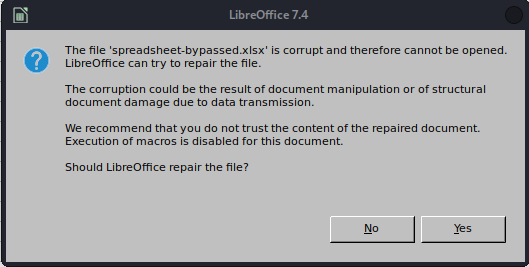
Go back to Step 3 and make sure you’ve followed the instructions with regard to which directory you are in, and where you are placing the re-zipped .xslx file. Also make sure there are no extra files that were not in the fresh, originally unzipped file when you started this whole endeavor. I’m looking at you, .DS_Store.
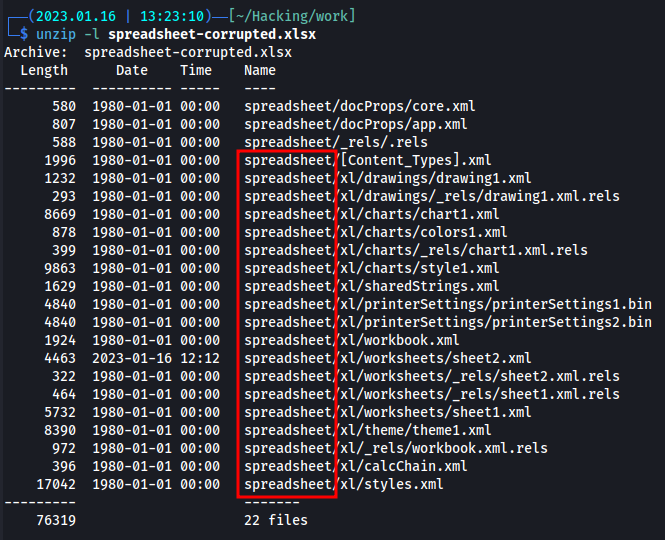
Use the following unzip command to examine the contents of your finished .xlsx file and make sure it matches the correct structure. The [Content_Types].xml, ./xl/, and ./docProps/ files and folders need to be in the root directory.
$ unzip -l spreadsheet-corrupted.xlsx
The below image shows the contents of a corrupted spreadsheet, with a selection of entries not correctly located in the root folder.
Leave a comment