Installing Ghostwriter for Remote Cloud Access

Context and Scope
Click here to skip the preamble and go directly to the technical content
I won’t go into a long introduction of the Ghostwriter project by SpecterOps but I’ll say if you’re here without really knowing much about it, it’s a web application that help penetration testers and other similarly-aligned scoundrels with the organization and management of data that comes from hacking. This includes client management, engagement infrastructure, findings and screenshots, and then at the end of an engagement, Ghostwriter uses this data to help reporting process by generating a document with the information you already captured along the way.
What put me on this road was the fundamental need for something that would help eliminate needless overhead involved with manually writing a pentest report. You truly haven’t died inside until you’ve wrestled with someone’s very broken implementation of MS Word Header hierarchy as the Friday deadline comes careening around the corner.
A much more authoritative and in-depth description of Ghostwriter and its features can be found in the 2019 SpecterOps blogpost, “Introducing Ghostwriter.” If you develop a real thirst for knowing the hows and whys of the software, you can continue reading “Introducing Ghostwriter: Part 2.”
I’ve installed Ghostwriter a few times on my Kali VMs, always accessing them as a local resource. However, as I begin to expand my cybersecurity work under the umbrella of my business, I have a need for a persistent engagement management tool and reporting platform accessible from anywhere, not just my home office.
As such, I’ve chosen a DigitalOcean Droplet as my cloud platform of choice. I won’t be going into the deployment or configuration of a DO Droplet but I will advise that if you will be doing this for reasons similar to my own, to house extremely sensitive customer data, that you take measures to protect your system’s integrity by configuring authentication using both ssh keys and passwords. Hardening the system is a whole other topic but is something you should absolutely concern yourself with before you start using this as a piece of your production infrastructure. Here is DigitalOcean documentation on setting up a production-ready Droplet.
Technical Requirements
The technical data in this article is from September 2024 and makes use of Ghostwriter version 4.2.5 and the lowest tier Ubuntu Droplet technically acceptable for this task. As my attention and focus permits, I will update this article if I notice any significant changes that render any of this post obsolete.
Ghostwriter version 4.2.5:
- Requires Docker version >=20
- Docker Compose version >=1.26
Docker requirements for operations in a VM:
- Two (2) vCPUs
- 3 GB of memory
- 10 GB of storage
DigitalOcean Droplet specifications:
- Ubuntu 24.04 (LTS) x64
- Shared CPU Basic plan
- Regular SSD disk type
- 4 GB Memory
- 80 GB Regular SSD hard disk
- 4 TB data transfer
This Droplet meets the needs of Docker running on a VM and is projected to run me $24 a month ($0.036 per hour). However, I am not convinced this will be a permanent location so I will largely be approaching this installation as a dry-run for a later more cost-effective production deployment.
Installing Dependencies
First thing’s first. As with all new efforts with Linux systems, you patch the server:
apt update -y && apt upgrade -y
If you get a warning that there is a new sshd_config available and do you want to keep your old one or update it to the new, I just left the old one in place. I assumed at the time there were DigitalOcean-specific settings in there and didn’t want to overwrite them.
Since this was a brand new deployment probably baselined from earlier this year, there is a pending Linux kernel upgrade that requires a reboot. I get that right out of the way before continuing, then reconnect after a couple minutes:
reboot now
Once that’s complete, we’re going to make sure we have the correct Docker software installed. I’ve had issues in the recent past with my localhost default Kali installations. The Docker used in those repositories appears not to be the latest available versions and the commands to run do not always match the instructions in the official Ghostwriter documentation; i.e. docker compose vs docker-compose.
Straight from the ghostwriter.wiki Quickstart guide:
Older installations of Docker Compose use
docker-composeas the command. If you havedocker-composein your PATH instead ofdocker compose, consider upgrading to the latest version.
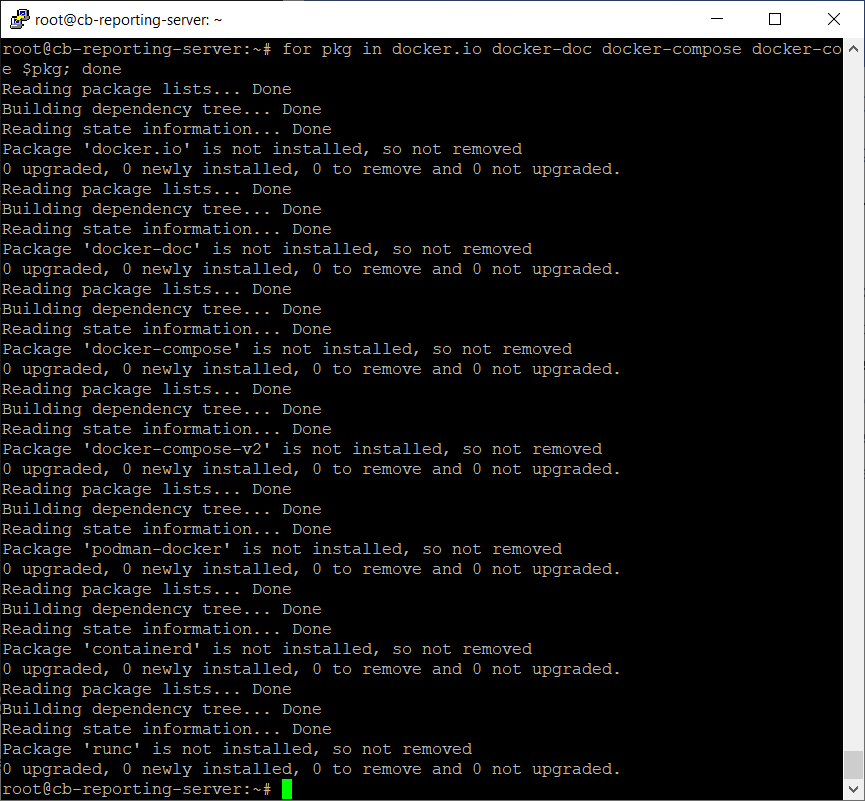
The official Docker documentation for Ubuntu installations walks you through removing old, possibly unofficial conflicting packages. None of these were installed on my fresh Droplet install but the one-liner to ensure this is the case follows:
for pkg in docker.io docker-doc docker-compose docker-compose-v2 podman-docker containerd runc; do apt-get remove $pkg; done
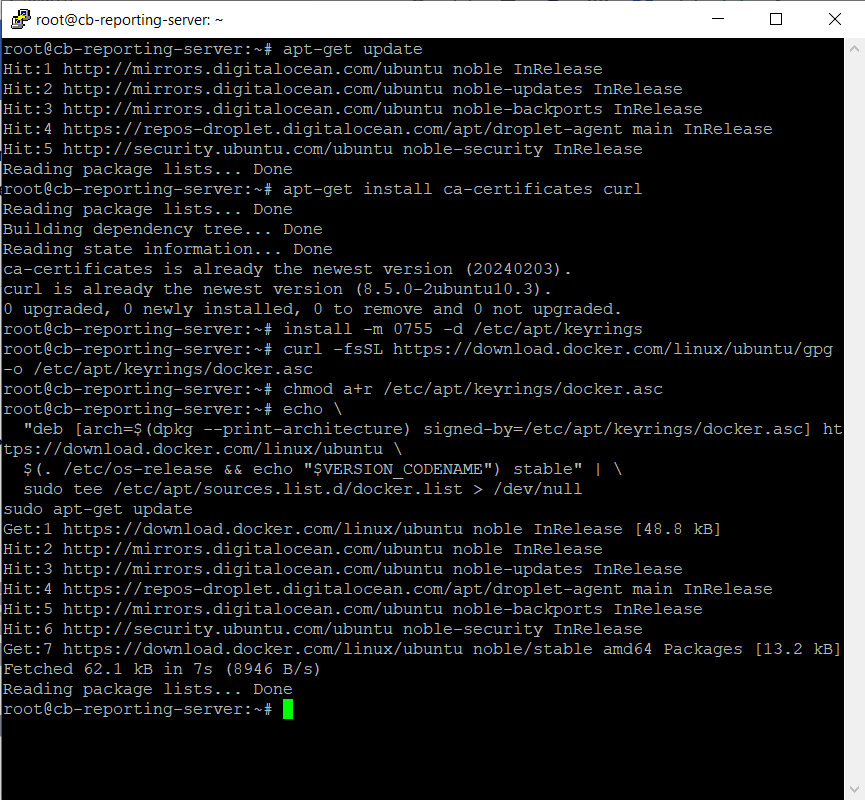
I’m not a Docker expert (or any containerization technology expert, really) and generally find better success when I just add the official Docker repositories. As such, I ran through each of the commands listed in the docker.docs article linked previously:
# Add Docker's official GPG key:

sudo apt-get update
sudo apt-get install ca-certificates curl
sudo install -m 0755 -d /etc/apt/keyrings
sudo curl -fsSL https://download.docker.com/linux/ubuntu/gpg -o /etc/apt/keyrings/docker.asc
sudo chmod a+r /etc/apt/keyrings/docker.asc

# Add the repository to Apt sources:
echo \
  "deb [arch=$(dpkg --print-architecture) signed-by=/etc/apt/keyrings/docker.asc] https://download.docker.com/linux/ubuntu \
  $(. /etc/os-release && echo "$VERSION_CODENAME") stable" | \
  sudo tee /etc/apt/sources.list.d/docker.list > /dev/null
sudo apt-get update
My run-through:
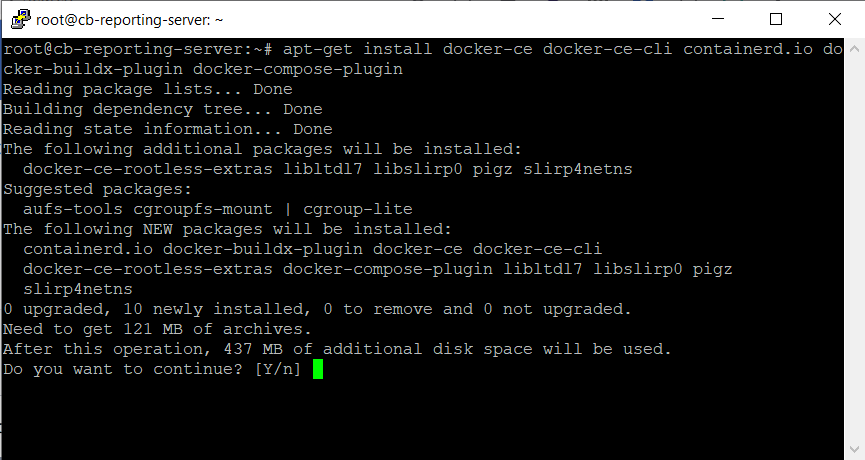
And now, the one-liner installation straight from docker.docs:
sudo apt-get install docker-ce docker-ce-cli containerd.io docker-buildx-plugin docker-compose-plugin
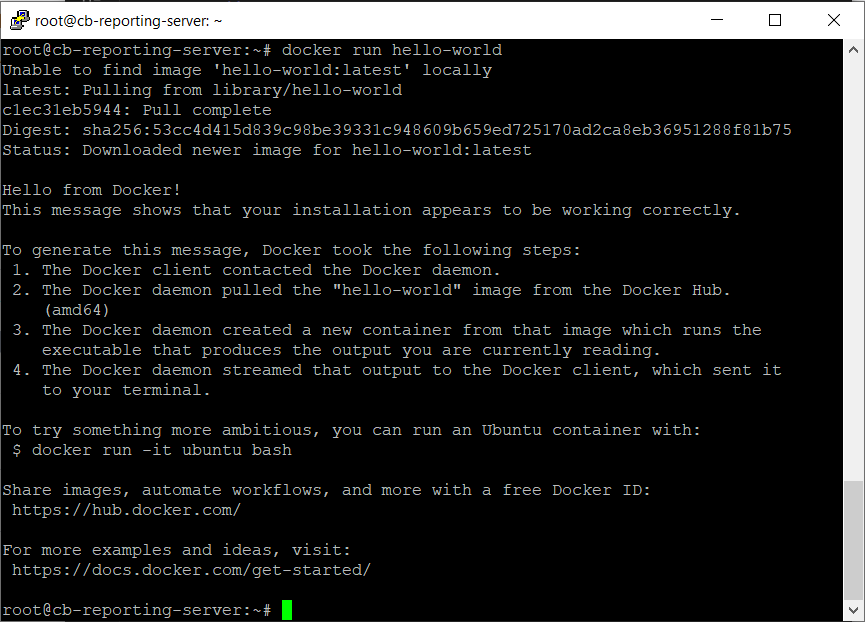
Once that is done, confirm that docker is working as expected with their built-in hello-world container. You should receive a message block that contains This message shows that your installation appears to be working correctly.
sudo docker run hello-world
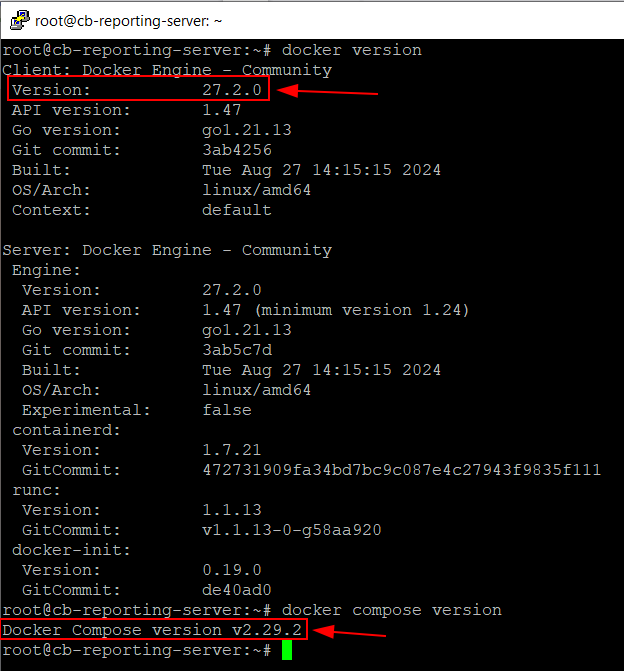
Confirm you now meet Ghostwriter’s Docker requirements:

docker version
docker compose version
Alright, now onward!
Installing Ghostwriter
Hopefully everything went smoothly for you up until this point because that was normally the hard part. I’ve found the rest of this process rather easy in past installations because after it finishes, I head straight to a browser and navigate to the now-local Ghostwriter instance at https://localhost/.
However, this is the point where if you are going to run this for live production purposes with real customer data, you should be working as an unprivileged user. If this is a fresh OS install you won’t have such an account and will need to add one with suitable privileges.
Now, I am not going to pretend I know all the ins and outs of exactly how this makes us more secure, but I know I’ve escalated privileges on machines before using services that were running as needlessly elevated users. And frankly, it just sounds like the right thing to do. As such, I’m going to hand-wave the technical reasons why we’re doing this and just link to a Red Hat article that dives deeper into root users and containers than I am capable of doing.
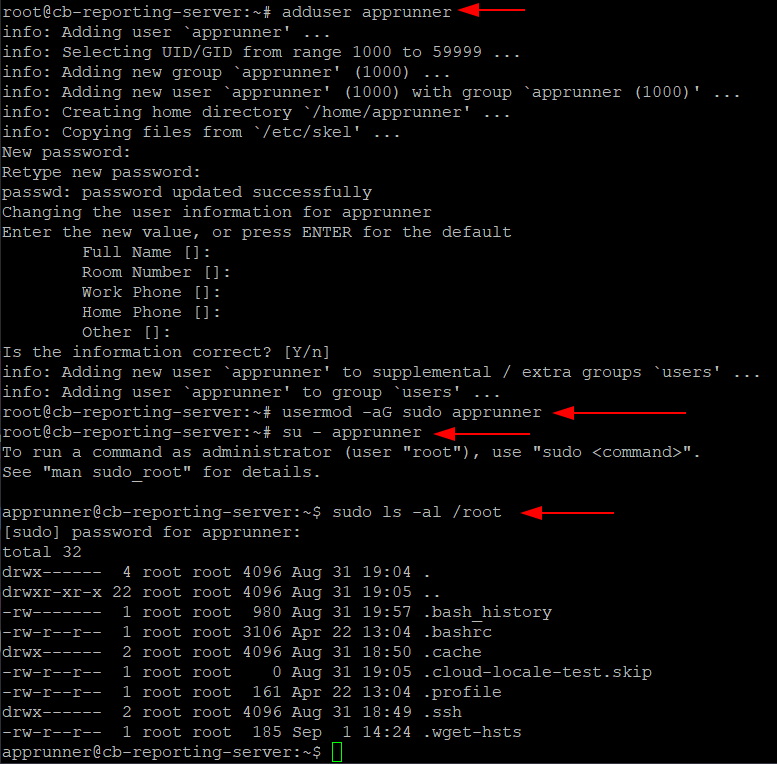
So let’s add an unprivileged user that will take over the Ghostwriter installation and execution from here.
adduser apprunner
# <Enter new password twice>

# Add the new user to the sudo and docker groups
usermod -aG sudo apprunner
usermod -aG docker apprunner

# Switch to the new user with the new password and list the contents of the privileged /root directory
su - apprunner
sudo ls -al /root
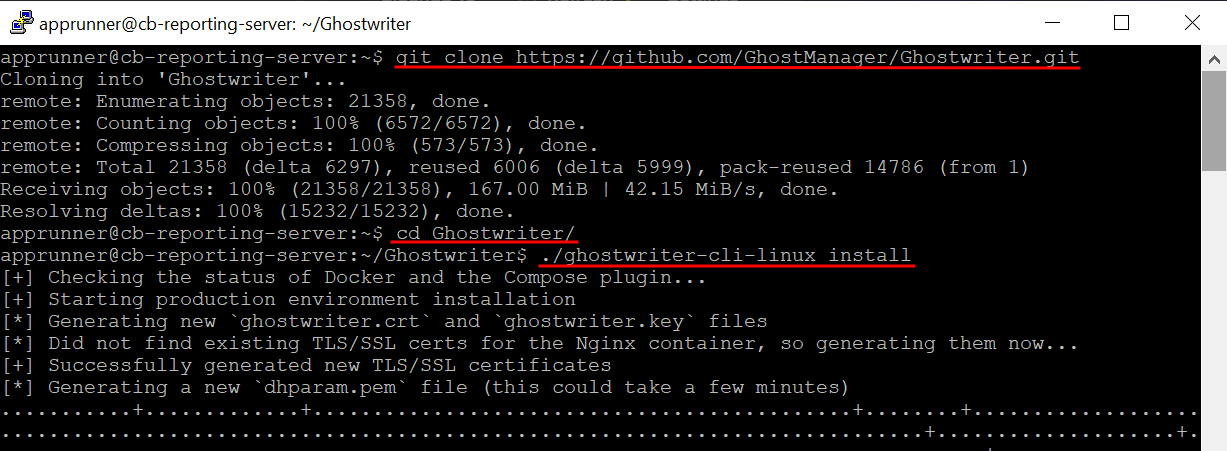
These next three commands from Ghostwriter.wiki: Quickstart are to be run as the new unprivileged user in their home directory. Note that I have modified the third command to account for the fact that the official documentation uses ghostwriter-cli as shorthand for ghostwriter-cli-linux or ghostwriter-cli.exe or ghostwriter-macos as the documentation was written for multiple OSes, while this article is specifically for Ubuntu Linux. From your new user’s home directory (e.g. /home/apprunner/):
git clone https://github.com/GhostManager/Ghostwriter.git
cd Ghostwriter
./ghostwriter-cli-linux install
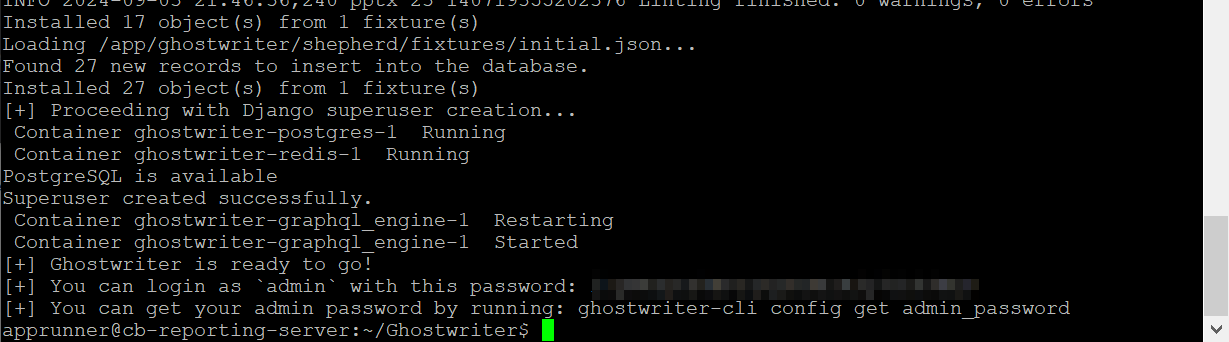
If all goes well, a whole lot of pages will scroll by as things are downloaded and installed.
 <snip>
Configuring For Remote Access
Now, this is where the difference between a local installation on your Kali VM and a remotely accessible cloud server comes in to play.
In order for Ghostwriter to grant access under any address other than localhost, you have to specifically configure it with a domain or IP address where it is allowed to serve the application. This is done to prevent a vulnerability to HTTP Host Header attacks. Once you’ve told Ghostwriter it’s okay to be accessed at that address, you have to bounce the containers so they can read the new information and incorporate it in the container build.
./ghostwriter-cli-linux config allowhost <YOUR DOMAIN NAME OR IP>
./ghostwriter-cli-linux containers down
./ghostwriter-cli-linux containers up

From here, you should be able to pull up your instance in the browser. Navigate to it at https://<domain or IP address>/. Click-through the self-signed certificate warning and you might be presented with the Ghostwriter login page.
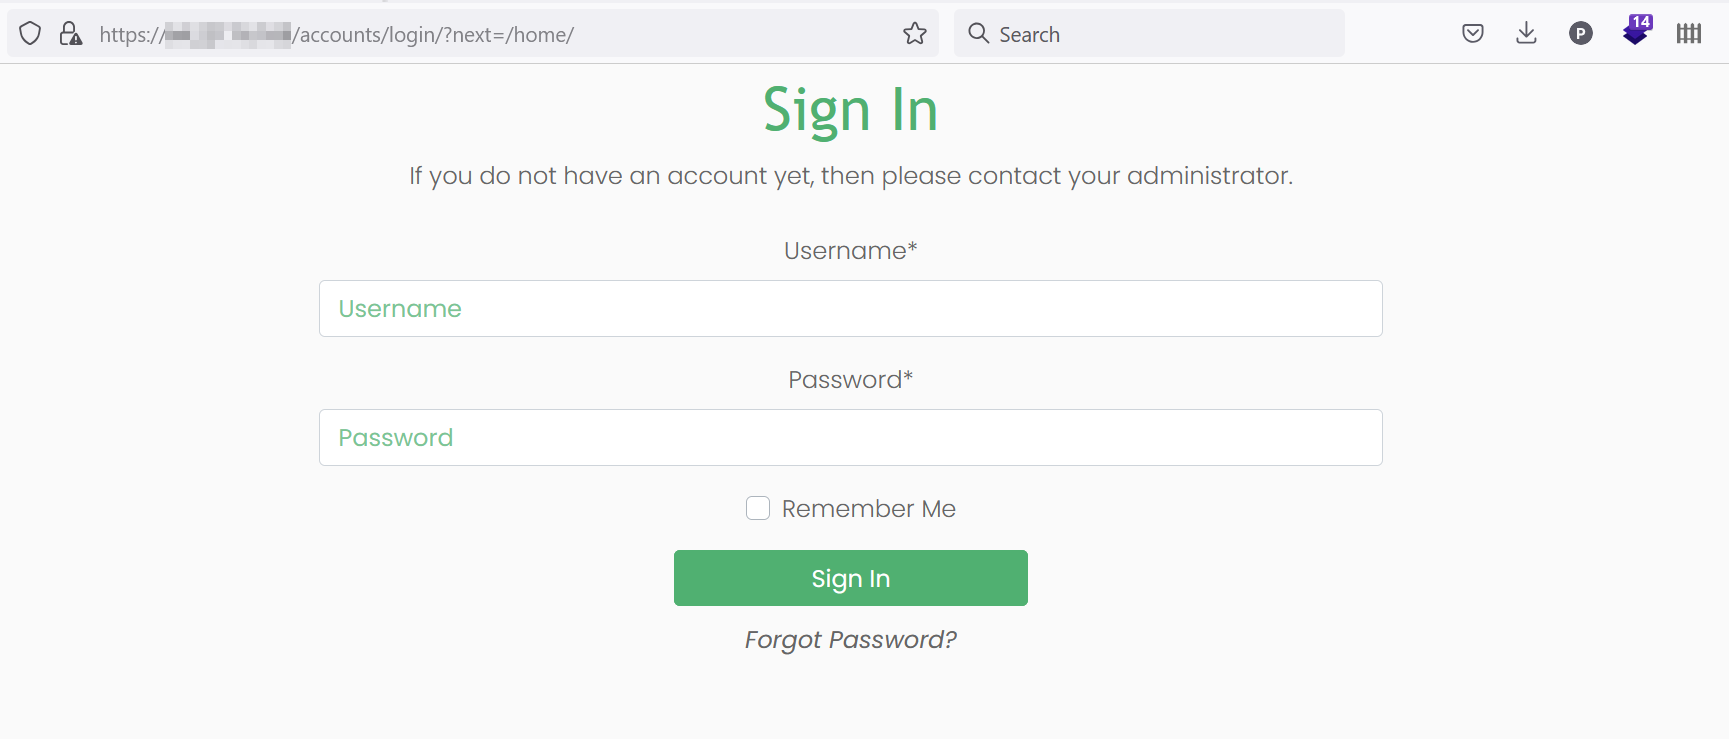
Note my use of the word “might.” I have also experienced reaching a 502 Bad Gateway error when I bring up the login page. This is both on a localhost installation and a cloud install. In my very limited experience with this error, remediation has been explained in two ways. The less simple one I have not yet encountered is explained in this Ghostwriter FAQ item and involves filesystem permissions inside the containers.
Mercifully for me, it has only involved me giving Django more time to start. I returned to the page a few minutes later and clicked refresh and the login page came right up.
Initial Ghostwriter Configuration
Log into the app with the admin:abcdefg123456 credentials that displayed on the command line after you ran the ./ghostwriter-cli-linux install command. If you did not capture that data point, you can recover it by running ./ghostwriter-cli-linux config get admin_password from the project directory.
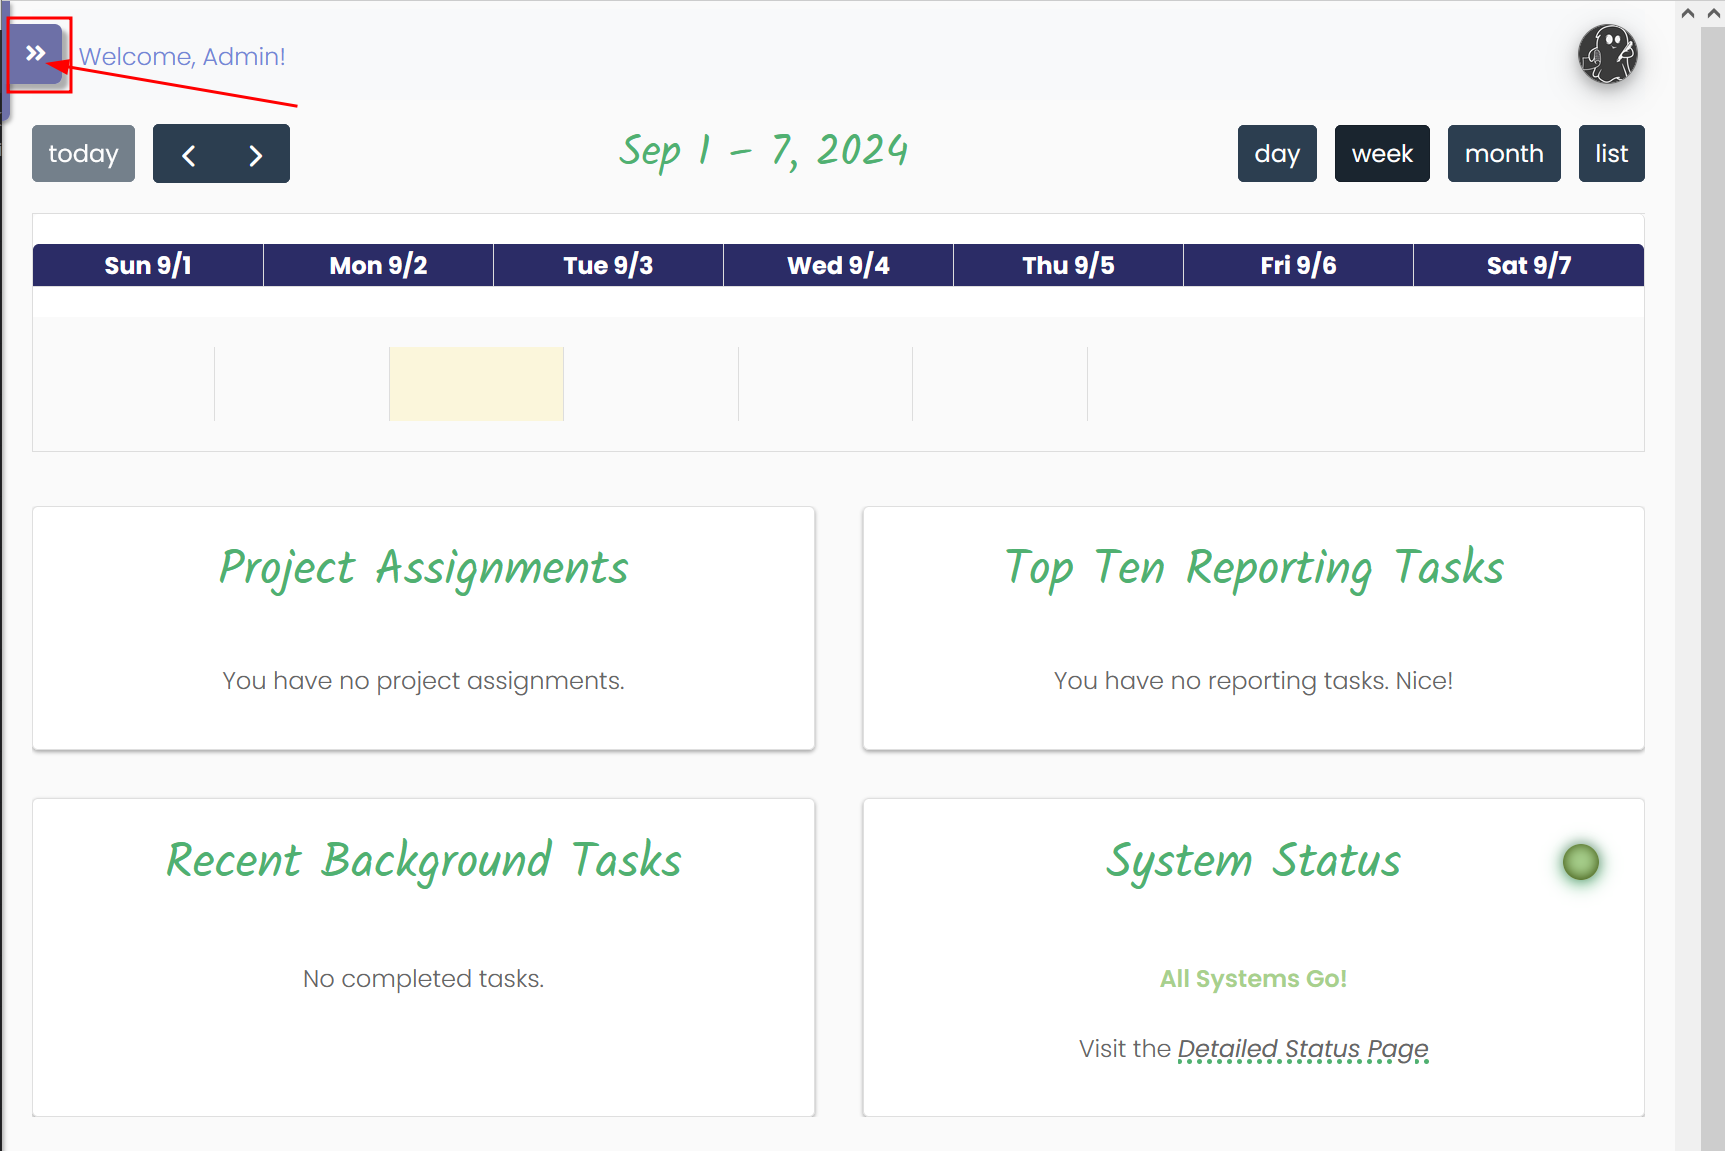
Once you’ve logged in, you should create a non-administrative user. Not just as good security practice but because you don’t necessarily want admin to be listed in the credits for your penetration testing reports.
Expand the left-hand menu by clicking on the double-right angle icons.
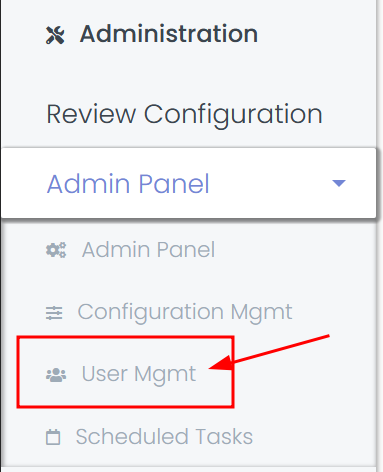
Navigate all the way down to the bottom under Administration > Admin Panel > User Mgmt
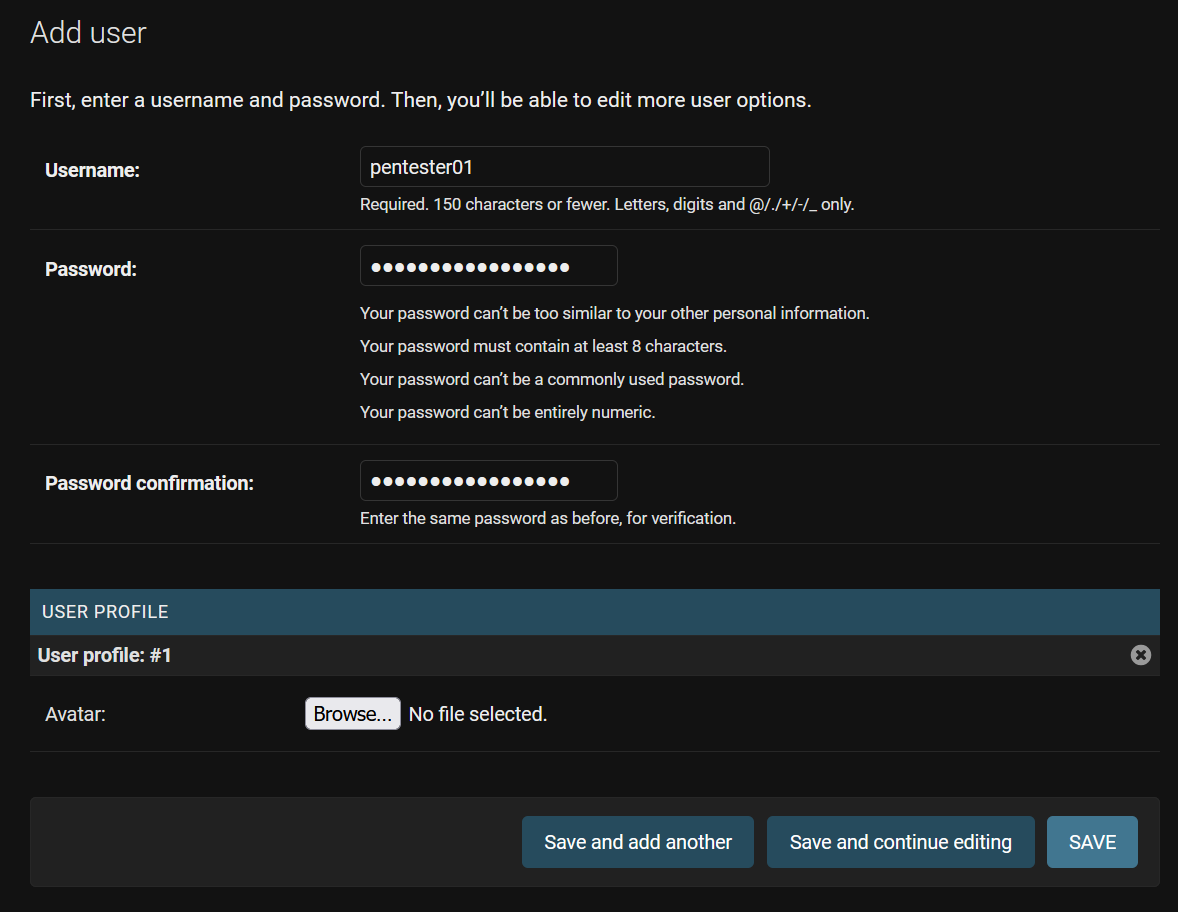
You should be on the Django administration page. On the top-right, there is a button labeled “Add User.” Click it.
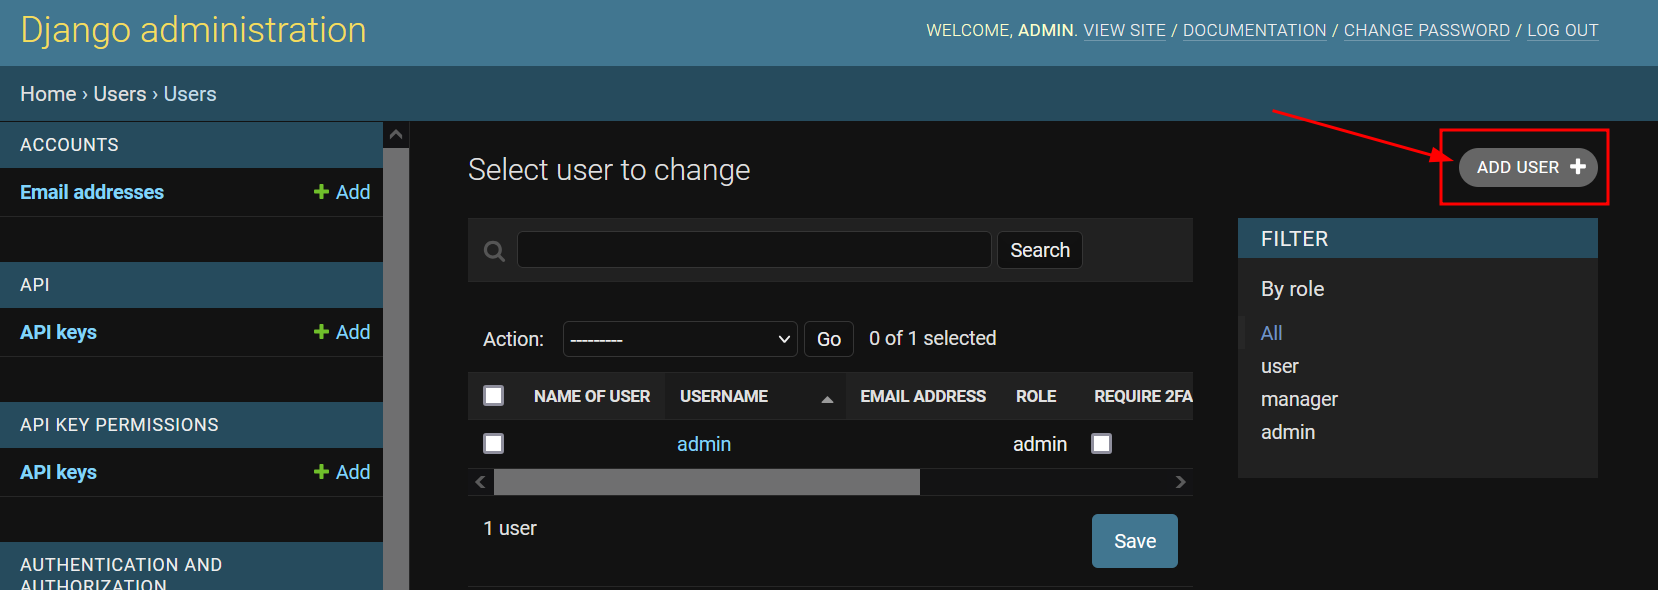
Enter a username and password appropriate for your situation, then click on “Save” if you’re finished. “Save and add another” if you want to keep adding team members, or “Save and continue editing” to fill out the profile information of the user you just created.
Conclusion
As someone accustomed to writing reports by hand in Microsoft Word after keeping notes in whatever applications was available at the time (e.g. OneNote, CherryTree, Notepad), I think whatever pain is involved with learning a new system’s workflow will quickly subside as I spend less and less time translating my notes into a Word document.
With any luck, this article is just the beginning. I hope to return to this topic with a post about using Ghostwriter to set up and execute an engagement and eventually, my personal holy grail, generating a nearly-finished report from the data captured by its use.


Leave a comment